
You hear the gentle sizzle before you open the oven. Then comes the smell of garlic and rosemary, followed by the sight of golden skin and bubbling pan juices. A roast chicken can make an ordinary evening feel like a meal worth sitting down for.
Still, roasting a whole bird can feel intimidating. Will the breast dry out before the thighs finish cooking? Should you cover the pan? And how can you tell when dinner is ready without repeatedly cutting into the meat?
This roast chicken recipe gives you a straightforward approach using butter, garlic, lemon, and herbs. You’ll learn how to prepare the chicken, check its temperature, and carve it without fuss. Whether you’re cooking Sunday dinner or planning leftovers for tomorrow, you’ll have a clear method to follow.
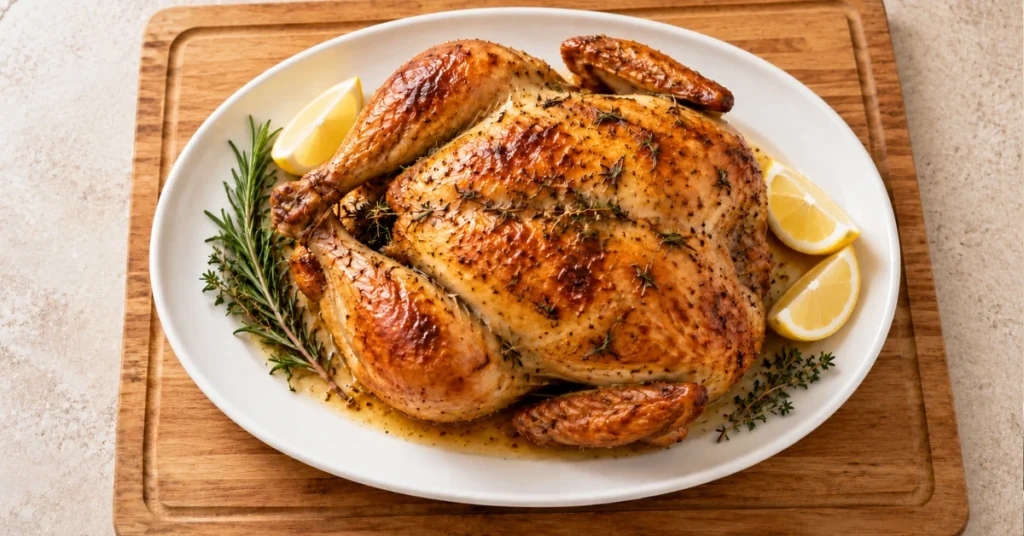
Table of Contents
Why You’ll Love This Easy Roast Chicken Recipe
You don’t need a long shopping list or complicated equipment to put a satisfying chicken dinner on the table.
- Simple ingredients: Garlic, butter, and herbs provide plenty of flavor.
- Manageable preparation: Most of your work happens before the chicken enters the oven.
- Flexible serving options: Pair it with vegetables, potatoes, salad, or rice.
- Useful leftovers: Turn extra meat into sandwiches, soup, or wraps.
- Accurate doneness checks: A thermometer helps you avoid guessing.
Choose a chicken close to the specified weight. A much larger bird changes your cooking schedule and may need a different balance of roasting time and browning.
Roast Chicken Ingredients
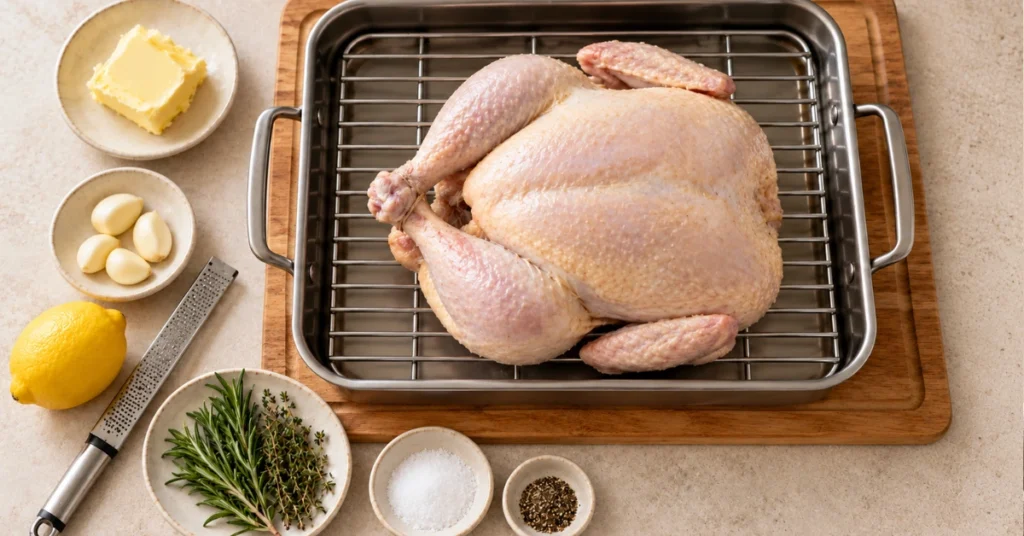
For this recipe, use a fully thawed, 4-pound chicken, roughly 1.8 kilograms, with no bread stuffing.
Ingredients and Substitutions
| Ingredient | Amount | Preparation or substitution |
|---|---|---|
| Whole chicken | 4 pounds / approximately 1.8 kg | Remove giblets; pat dry |
| Unsalted butter | 3 tablespoons / 42 g | Soften; alternatively, use 2 tablespoons olive oil |
| Fine sea salt | 9 g / approximately 1½ teaspoons | Weigh if possible; reduce for a salted or enhanced bird |
| Black pepper | ½ teaspoon | Freshly ground if available |
| Garlic | 4 cloves | Finely grate or mince |
| Fresh rosemary | 1 tablespoon, chopped | Substitute 1 teaspoon dried rosemary |
| Fresh thyme leaves | 1 tablespoon | Substitute 1 teaspoon dried thyme |
| Lemon | 1 medium | Zest first, then cut into wedges |
Check the chicken’s packaging before seasoning. If it contains added salt or a seasoning solution, the full amount of salt may make the finished dish too salty.
Using Dried Herbs Instead of Fresh
If dried herbs are what you have, use the smaller quantities in the table. Rub the dried rosemary between your fingers to break it into smaller pieces and keep the seasoning from having long, tough bits.
Mix the herbs, garlic, and lemon zest into the softened butter until everything is well combined. Reserve the lemon wedges for serving, keeping the cavity empty.
Equipment You’ll Need
- Roasting pan fitted with a rack
- Instant-read meat thermometer
- Paper towels
- Small mixing bowl
- Cutting board and sharp knife
- Kitchen twine, optional
Choose a pan that leaves some space around the chicken without being excessively large. In a very large pan, small amounts of drippings can evaporate and burn more easily.
How to Make This Roast Chicken Recipe
1. Prepare the Chicken
Heat your oven to 400°F / 200°C using a conventional oven setting. Position a shelf so the chicken will sit near the middle of the oven.
Take the chicken out of its packaging and check inside the cavity for a bag of giblets. Pat the skin and cavity dry with paper towels, then discard them.
Do not rinse raw chicken. Washing can splash bacteria onto your sink, utensils, and nearby food. Clean your hands and any surfaces that come into contact with the raw bird.
Place the chicken on the roasting rack with the breast facing up. Tuck the wing tips underneath to help protect them from excessive browning. You can loosely tie the legs together for a neater shape, but avoid pulling them tightly against the body.
2. Add the Garlic and Herb Seasoning
Combine the softened butter, garlic, rosemary, thyme, and lemon zest.
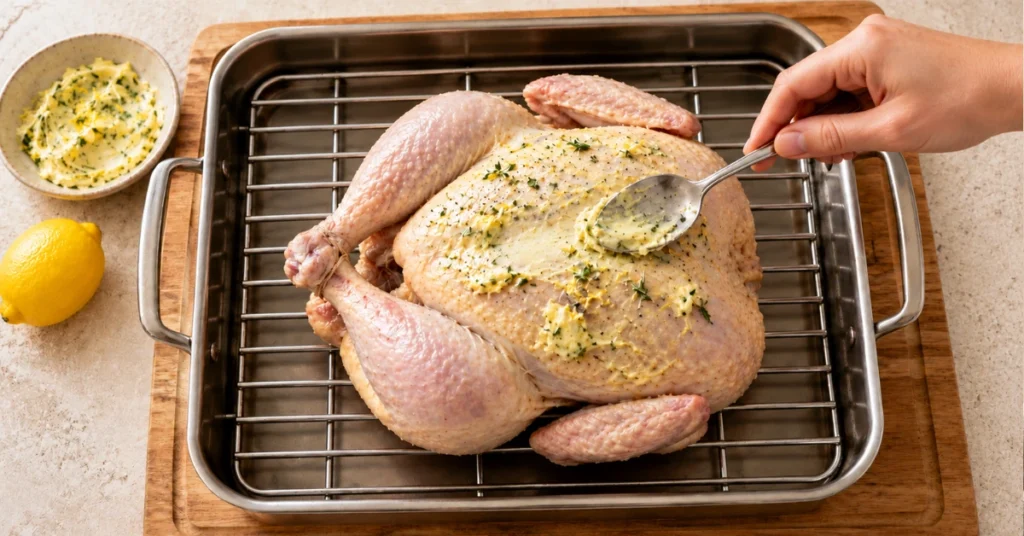
Gently loosen the breast skin with your fingers, taking care not to tear it. Spread about half the flavored butter underneath. Rub the remaining butter over the outside, then distribute the salt and pepper over the chicken, including a little inside the cavity.
Putting some garlic underneath the skin protects it from direct heat. If large pieces remain on the exterior, tuck them under the skin or remove them before roasting.
3. Roast the Chicken
Put the pan in the preheated oven and let the chicken roast without covering it.
For a chicken around 4 pounds, allow approximately 75–95 minutes, beginning temperature checks at about 60 minutes. Your oven, pan, and the bird’s proportions can change the actual cooking time.
You don’t need to baste repeatedly. Keeping the oven closed maintains a steadier cooking environment, and the butter already coats the surface.
What to Do if the Skin Browns Too Quickly
Gently cover the darkest part of the chicken with a small piece of aluminum foil while the rest finishes cooking. Shielding just the breast or wing tips lets the remaining skin continue to brown.
If drippings start burning, carefully add a few tablespoons of hot water to the pan beneath the roasting rack. Avoid pouring it over the skin.
4. Check the Temperature and Rest
Use a meat thermometer to check the thickest part of the chicken breast and the inner parts of the thigh and wing, and make sure it doesn’t touch the bone. All should reach at least 165°F / 74°C before you remove the chicken from the oven. Don’t rely on skin color or clear juices alone.
Transfer the cooked chicken to a board with a groove for catching juices. Before carving, rest it for 15 minutes. Leave it uncovered, or tent very loosely with foil if your kitchen is cool.
Roast Chicken Cooking Time and Temperature
Use this table to organize your meal, rather than treating the clock as a doneness test.
| Detail | Guide for this recipe |
|---|---|
| Chicken weight | Approximately 4 pounds / 1.8 kg |
| Oven setting | 400°F / 200°C, conventional |
| Estimated roasting time | 75–95 minutes |
| Begin temperature checks | Around 60 minutes |
| Required internal temperature | At least 165°F / 74°C in all specified locations |
| Resting time | 15 minutes |
These are just estimates to help you plan, not measured test results. Start checking early and continue cooking if any required location remains below the safe temperature.
If you use a fan-assisted oven, consult your appliance’s conversion guidance. Keep in mind that using the same temperature and cooking time won’t always give you the same results.
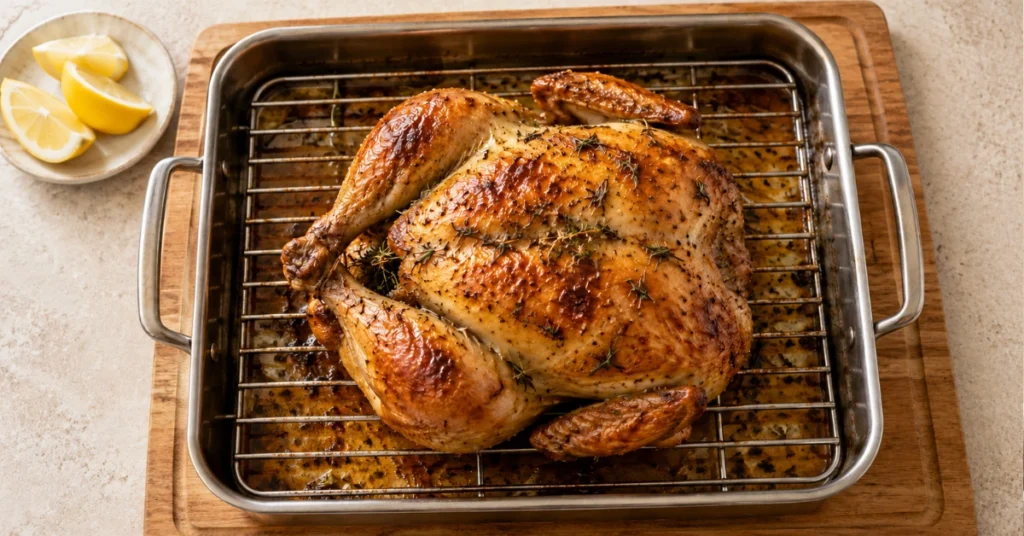
Tips for Crispy Skin and Juicy Roast Chicken
Even small changes in how you prepare the chicken can make a big difference.
- Dry the surface thoroughly. Wet skin needs to lose that moisture before it can brown effectively.
- Keep the chicken elevated. A rack prevents the underside from sitting directly in the drippings.
- Avoid a crowded pan. A thick layer of vegetables releases moisture around the chicken.
- Use temperature checks. Continuing to roast after the chicken is done can dry out the breast.
- Keep foil loose. Wrapping the cooked bird tightly traps steam against the skin.
- Carve just before serving. Keep the breast whole during the resting period.
If you want particularly crisp potatoes, roast them on a separate tray. Beneath the chicken, they absorb flavorful juices but may stay softer.
How to Carve Roast Chicken
To carve the chicken more easily, find the joints and slice through them rather than cutting through the bones.
- Remove the legs. Carefully move one leg away from the chicken’s body. Slice the skin connecting the thigh to the breast, then find the joint and cut through it to separate the leg.
- Separate thighs and drumsticks. Find the joint connecting them and cut through it.
- Remove the wings. Pull every wing outward and cut through its joint.
- Lift off the breasts. Cut down beside the breastbone, following the rib cage to release each breast.
- Slice and serve. Cut the breast meat across the grain into thick slices.
Spoon a bit of the cooking juices over the sliced chicken. Serve with lemon wedges on the side so everyone can add a fresh lemon flavor while keeping the skin nice and crispy.
What to Serve With Roast Chicken
Choose your side dishes based on how much time and effort you want to spend cooking while the chicken is in the oven.
| Meal style | Side dishes | Preparation tip |
|---|---|---|
| Classic comfort dinner | Mashed potatoes and green beans | Mash the potatoes while the chicken rests |
| Simple weekend meal | Roasted potatoes and carrots | Use a separate tray and check tenderness independently |
| Lighter dinner | Green salad and crusty bread | Dress the salad just before serving |
| Filling family meal | Rice and steamed broccoli | Start the rice toward the end of roasting |
You may also serve the chicken with its pan juices rather than making a separate sauce. Taste them first: as liquid evaporates, the drippings may become concentrated and salty. Add a little water or unsalted stock if needed.
How to Store and Reheat Roast Chicken
Refrigerating and Freezing Leftovers
Remove leftover meat from the carcass and divide it into shallow containers. Refrigerate within two hours, or within one hour if the surrounding temperature exceeds 90°F / 32°C.
Keep refrigerated leftovers for 3 to 4 days. For longer storage, freeze portions in airtight containers or freezer bags; aim to use them within three to four months for quality. Label each portion with the date.
Separate small portions before freezing so you can thaw only what you need.
Reheating Without Drying Out the Meat
Arrange the chicken in an oven-safe dish with a splash of stock or water. Cover and reheat in a 350°F / 180°C oven, checking until the meat reaches 165°F / 74°C. The time depends on the portion size and thickness.
Covered reheating helps retain moisture, although the skin will soften. For everyday leftovers, you may prefer shredding the meat into soup or warming it gently in a sauce.
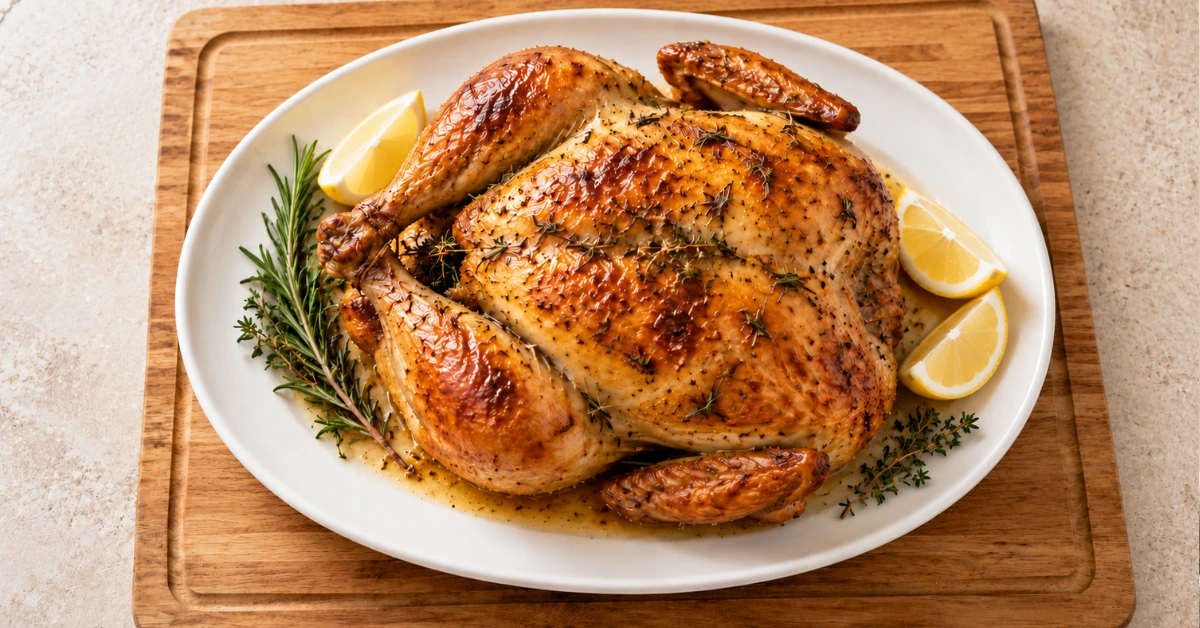
Garlic and Herb Roast Chicken Recipe
Ingredients
Method
- Preheat the oven to 400°F / 200°C. Remove giblets and pat the chicken dry.
- Mix the butter, garlic, herbs, and lemon zest.
- Spread half the butter beneath the breast skin and the rest outside. Season with salt and pepper.
- Place breast-side up on a roasting rack, with the cavity empty.
- Roast approximately 75–95 minutes, checking temperatures from 60 minutes onward. Shield overly browned areas with foil.
- Confirm at least 165°F / 74°C in the thickest breast and innermost thigh and wing areas, avoiding bone.
- Rest for 15 minutes, carve, and serve with lemon wedges.
Notes
Roast Chicken Recipe FAQ
What Is the Ideal Oven Temperature for This Roast Chicken Recipe?
Use 400°F / 200°C in a conventional oven for the method described here. It provides a practical balance between browning the skin and cooking the bird through. Other methods use different temperatures, so keep your timing and instructions consistent with the recipe you follow.
Should You Roast Chicken Covered or Uncovered?
Roast the chicken without covering it so the skin turns golden brown and crispy. If one area gets too dark before the chicken finishes cooking, cover that spot loosely with foil.
Can You Use Olive Oil to Make This Roast Chicken Recipe?
Yes. Replace the butter with 2 tablespoons of olive oil, using the same garlic, herbs, and lemon zest. The flavor will be less buttery, but you can prepare it the same way.
Why Is Your Roast Chicken Skin Not Crispy?
Common reasons include wet skin, a crowded pan, or tightly covering the chicken. Dry the surface before seasoning, use a rack, and avoid wrapping the bird during its rest.
Can You Get the Chicken Ready Ahead of Time?
You can season it the night before and keep it refrigerated on a tray that contains any raw juices, away from ready-to-eat food.
Keep the chicken in the fridge and make sure you cook it within the recommended safe storage time. Don’t leave it sitting on the counter for too long before cooking.
Do You Need to Baste Roast Chicken?
You can skip basting for this recipe. The flavored butter coats the chicken, and avoiding repeated oven opening makes the cooking process simpler.
Conclusion
A satisfying roast chicken starts with a few careful steps: dry the skin, season evenly, and check the temperature before you carve. Once you understand those details, preparing a whole bird feels much more manageable.
Use this roast chicken recipe for your next family dinner, choose a side you enjoy, and save any extra meat for another meal. You’ll get more from your cooking time without needing an elaborate menu.
Save the recipe for your next meal, then leave a rating and comment after you’ve tried it. What did you serve alongside your chicken—and did you choose butter or olive oil?
1 thought on “Roast Chicken Recipe: Crispy Skin and Juicy, Flavorful Meat”